
Websites
The Websites builder lets you create complete, multi-page websites directly inside your account. It uses the same drag-and-drop editor as funnels, but it’s organized around a full site structure: multiple linked pages that share a header, footer, and navigation menu.
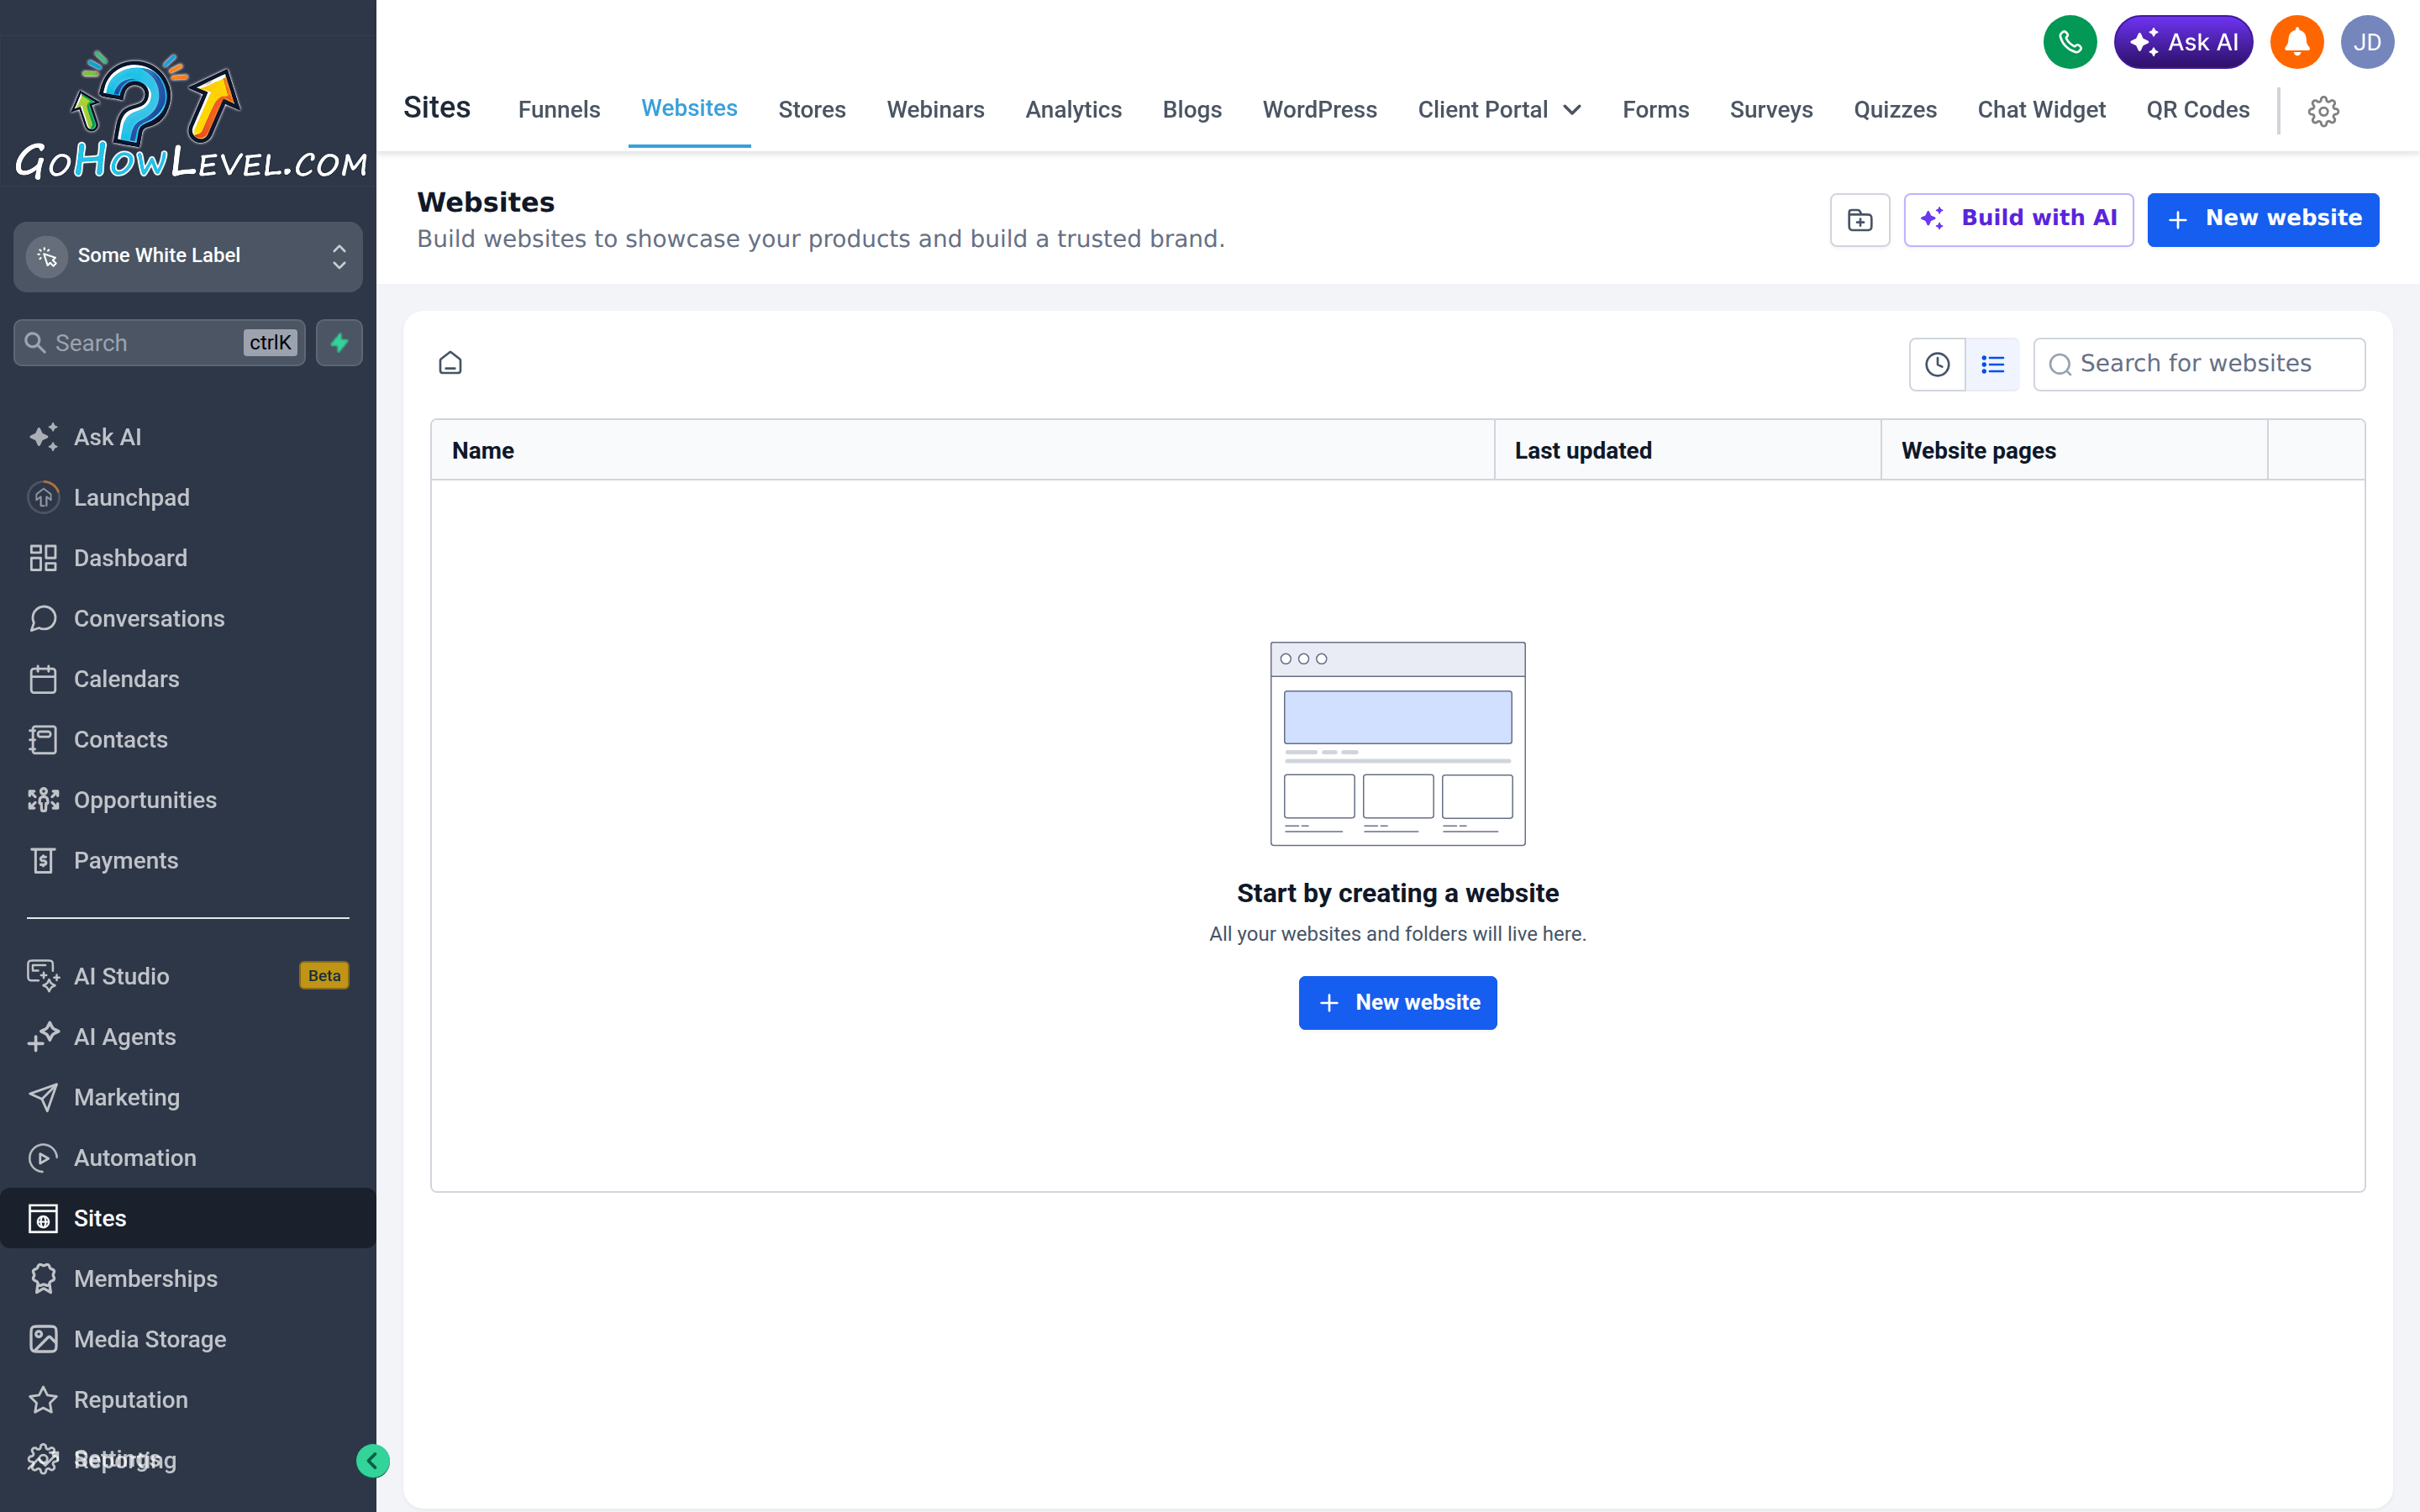
The Websites builder creates full multi-page sites with shared navigation, header, and footer.
Websites vs. funnels
Section titled “Websites vs. funnels”Both tools use the same page builder, so the difference is structure and intent, not skill.
| Use a website when… | Use a funnel when… |
|---|---|
| You want a multi-page presence (Home, About, Services, Contact) | You want a focused, linear path toward one action |
| Pages share navigation and link to each other freely | Steps flow in sequence (opt-in → offer → thank-you) |
| Visitors browse and explore | Visitors are guided to convert |
Creating a site
Section titled “Creating a site”- Open Sites and go to the Websites tab.
- Select Create New Website (or New Site).
- Choose a blank site or start from a template, then give the site a name.
- The site opens with at least one page ready to edit.
The name is internal-facing and helps you find the site later; it isn’t shown to visitors.
Adding and managing pages
Section titled “Adding and managing pages”Inside a site you’ll see a list of its pages. From here you can:
- Add a page — create a new blank page or duplicate an existing one to reuse its layout.
- Rename pages — keep clear names like “Home,” “About,” or “Contact.”
- Set the page path — the URL slug that appears after your domain (for example,
/about). - Reorder or delete pages as your site grows.
Click any page to open it in the builder. Drag in sections, rows, and elements; adjust styling; and save. Because every page lives in the same site, the changes you make to shared elements stay consistent across the whole site.
Navigation, header, and footer
Section titled “Navigation, header, and footer”A site can share a common header and footer so visitors get a consistent experience on every page.
- Edit your header element and add menu links pointing to your site’s pages.
- Add your logo and any call-to-action buttons (such as “Book a Call”).
- Build a footer with contact details, secondary links, and legal pages.
SEO basics
Section titled “SEO basics”Each page has its own SEO settings so search engines and link previews display the right information. Open a page’s settings and set:
- Page title — the title shown in browser tabs and search results.
- Meta description — a short summary that may appear under the title in search listings.
- Favicon and social/share image — the icon and preview image used when the page is shared.
- Tracking code — add analytics or pixel scripts in the header/footer code area if needed.
Write a unique title and description for every page rather than reusing one across the site.
Publishing to a domain
Section titled “Publishing to a domain”Pages stay private until you publish them to a connected domain.
- Connect a domain to your account under your domain settings (this may require DNS changes with your domain registrar).
- In the site’s settings, assign it to the connected domain.
- Set which page serves as the home page (often the path
/). - Publish each page you want live.
Once published, share your domain and start sending traffic. You can keep editing pages and republish at any time; visitors always see the latest published version.