My Profile
My Profile holds the settings that belong to you as the logged-in user, separate from the shared Business Profile. Changes here affect how you appear and how you’re notified, not the whole sub-account.
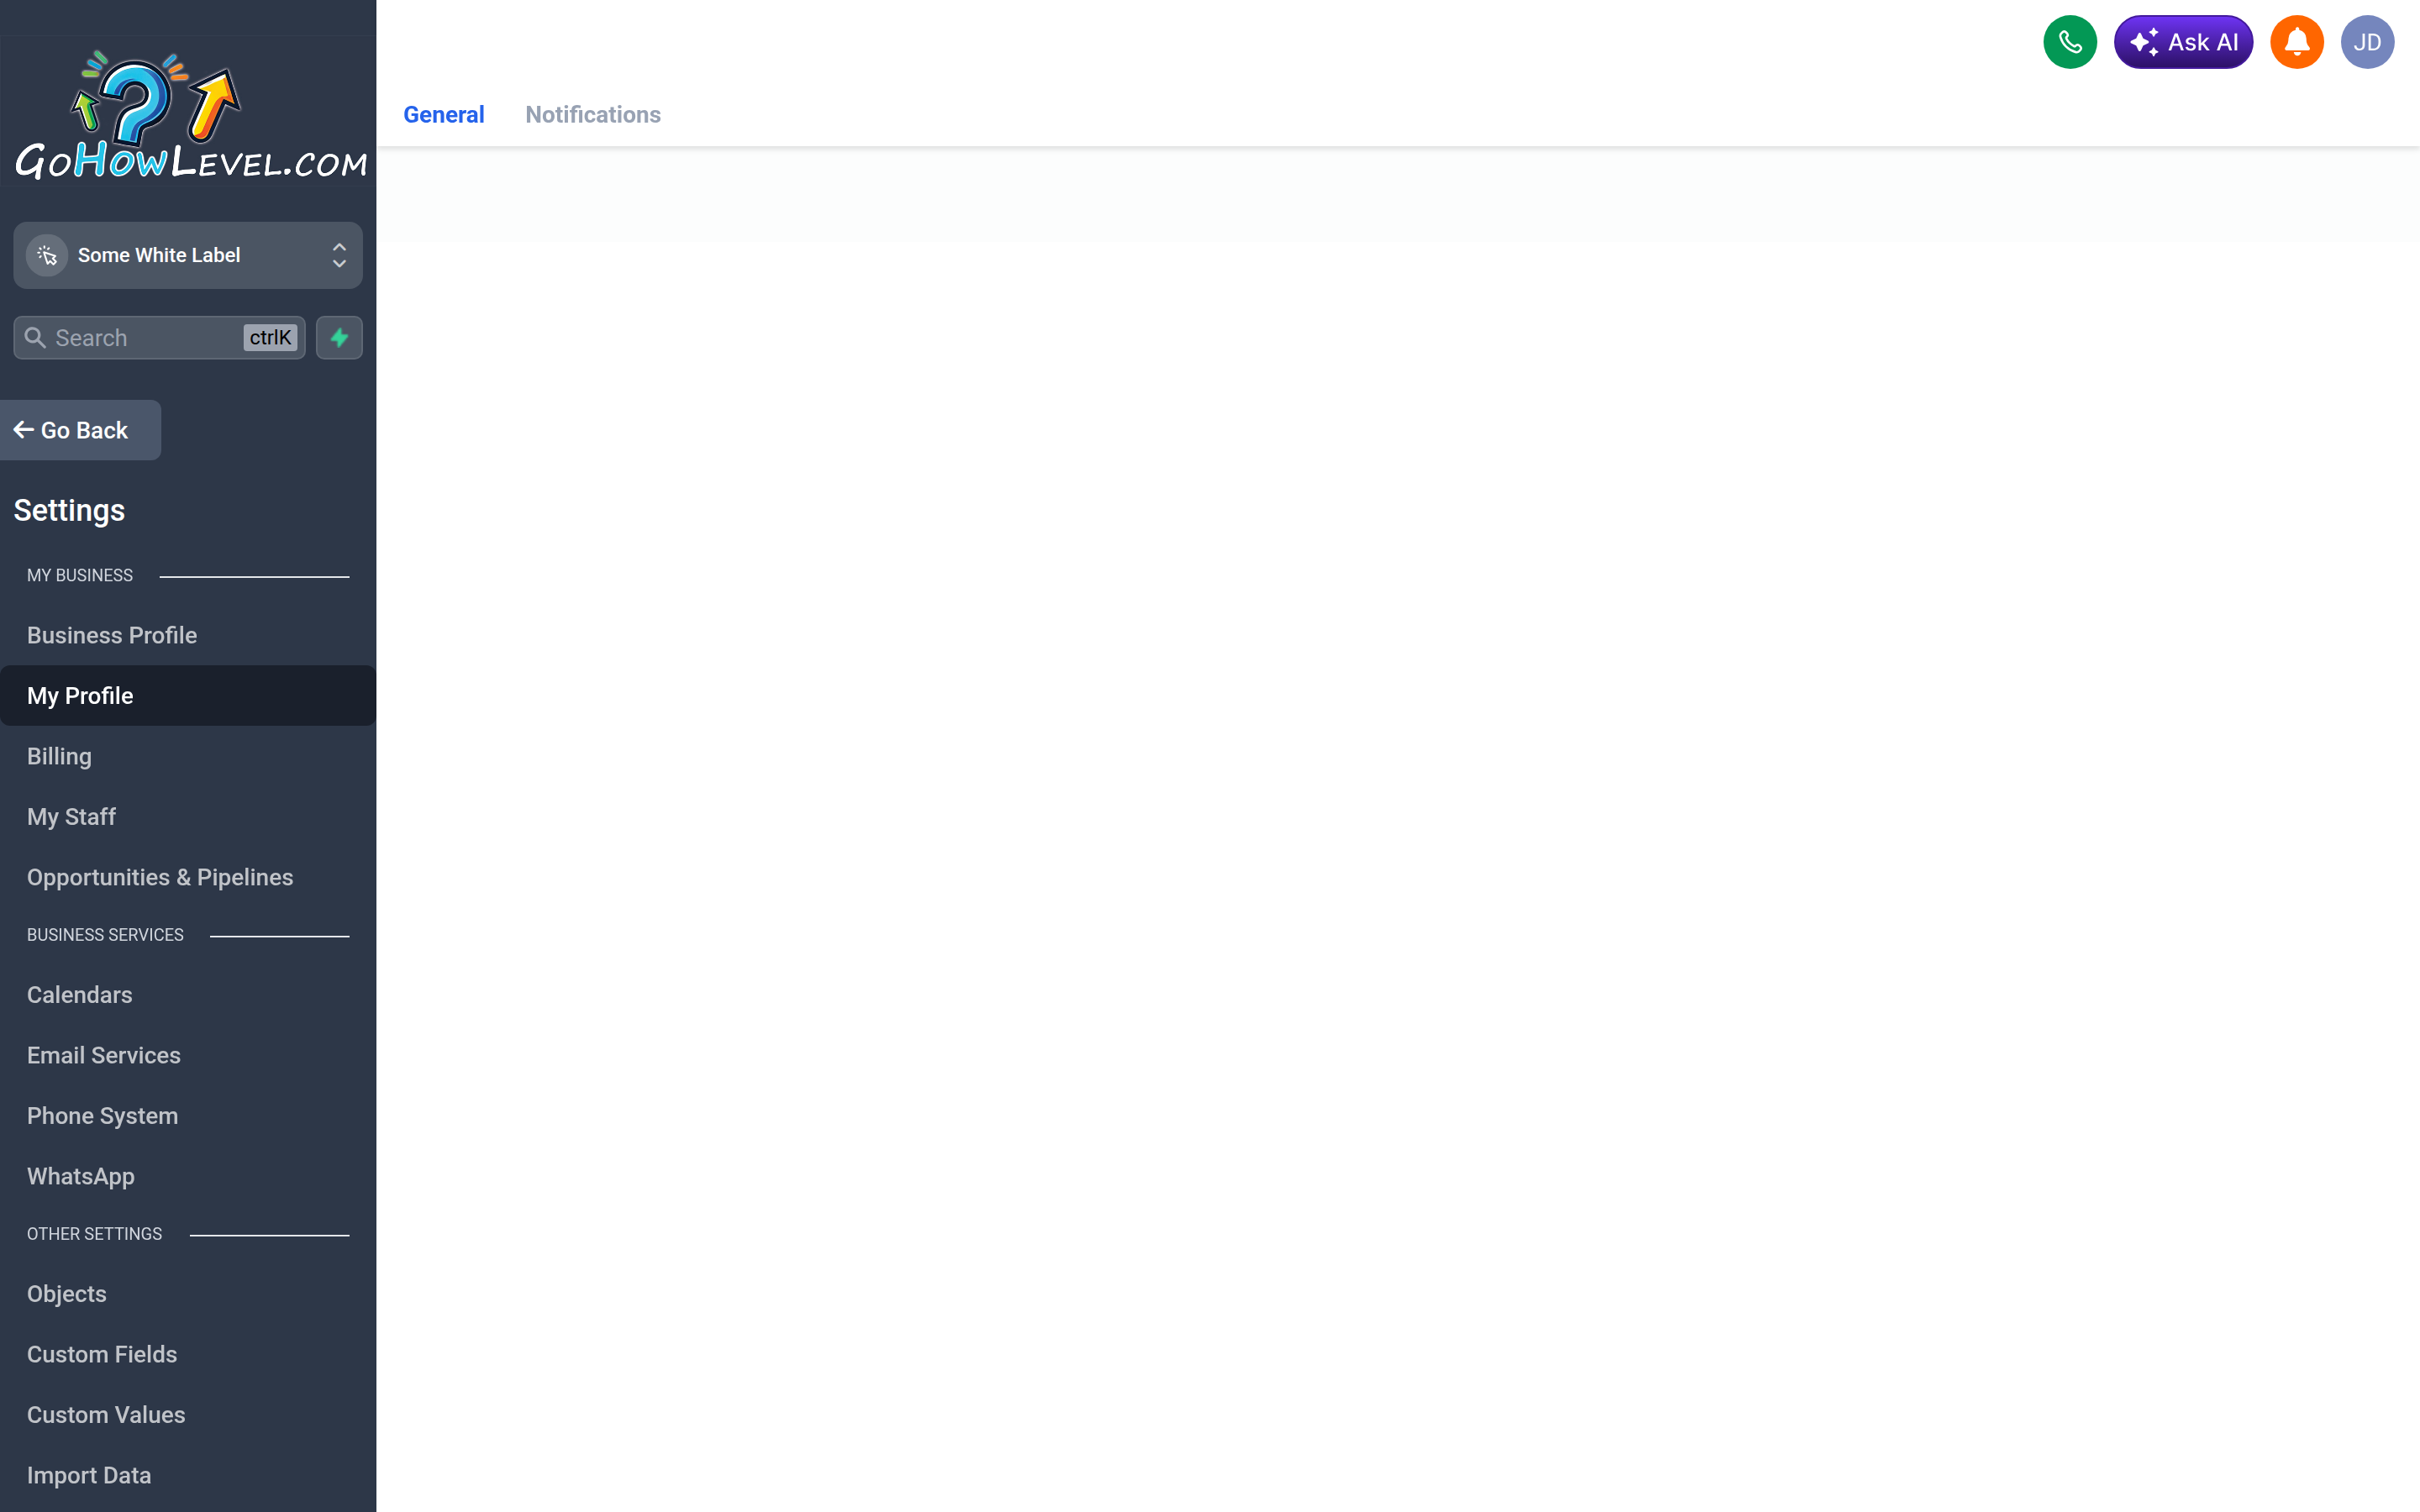
My Profile holds your personal settings — name, signature, password, 2FA, and notifications.
What’s in My Profile
Section titled “What’s in My Profile”Open Settings → My Profile (or My Staff → your user) to manage:
- Your first and last name
- Profile photo
- Personal email and phone number
- Password
- Email signature
- Personal notification preferences
- Two-factor authentication (2FA)
- Your own availability and connected calendar/email (where enabled)
Editing your details
Section titled “Editing your details”- Go to Settings → My Profile.
- Update your name, photo, email, or phone as needed.
- Save your changes.
Your profile photo and name appear in conversations, internal notes, and assignment views, so keeping them current helps teammates recognize your activity.
Setting your email signature
Section titled “Setting your email signature”A saved signature is appended to emails you send, so you don’t retype it each time.
- Find the Signature section in My Profile.
- Enter your name, title, phone, and any links you want included.
- Save. Use the formatting tools to match your brand’s style.
Enabling two-factor authentication
Section titled “Enabling two-factor authentication”Two-factor authentication adds a second verification step at login, so a stolen password alone can’t get into your account.
- In My Profile, find the Security or Two-Factor Authentication section.
- Choose your verification method (typically an emailed or texted code).
- Follow the prompts to confirm and activate it.
Changing your password
Section titled “Changing your password”Update your password from the Security section. Choose something long and unique that you don’t reuse elsewhere. If you suspect your account has been accessed by someone else, change your password immediately and confirm 2FA is on.
Connecting your calendar and email
Section titled “Connecting your calendar and email”Where your plan and role allow it, you can link your personal calendar (Google or Outlook) and email account from My Profile or the connected-accounts area.
- Calendar. Connecting your calendar lets the system check your real availability and write new bookings to it, preventing double-booking.
- Email. Connecting your email lets you send and receive messages through your own address, keeping replies threaded in your inbox and the CRM.
- Open the Calendar or Connected Accounts section.
- Choose your provider and sign in to authorize the connection.
- Confirm the connection shows as active.
Notification preferences
Section titled “Notification preferences”Use the notification section here to control how you are alerted to events. These personal choices work alongside the account-level Notifications settings — set them so you see what matters without being overwhelmed.